")
")
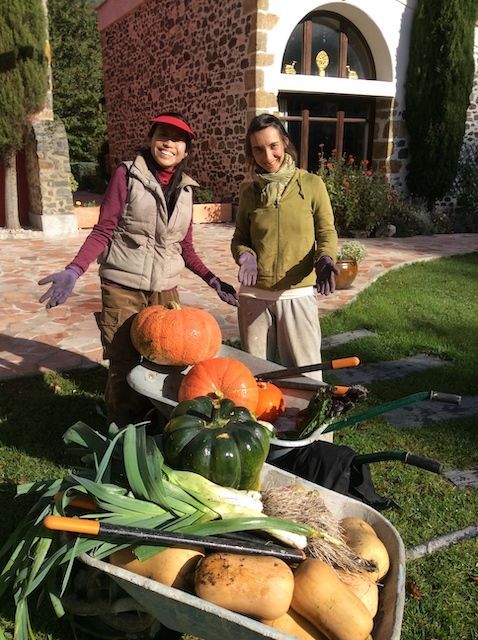

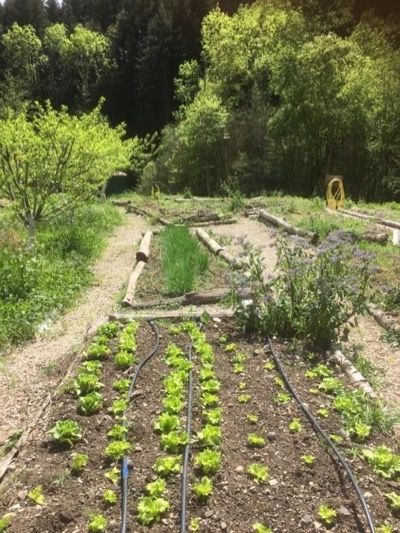
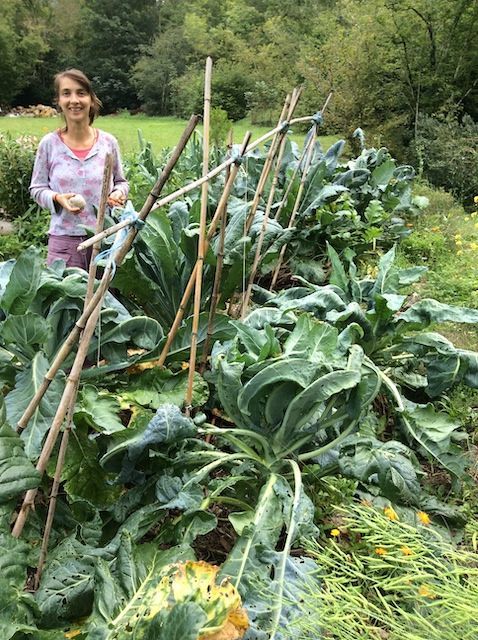
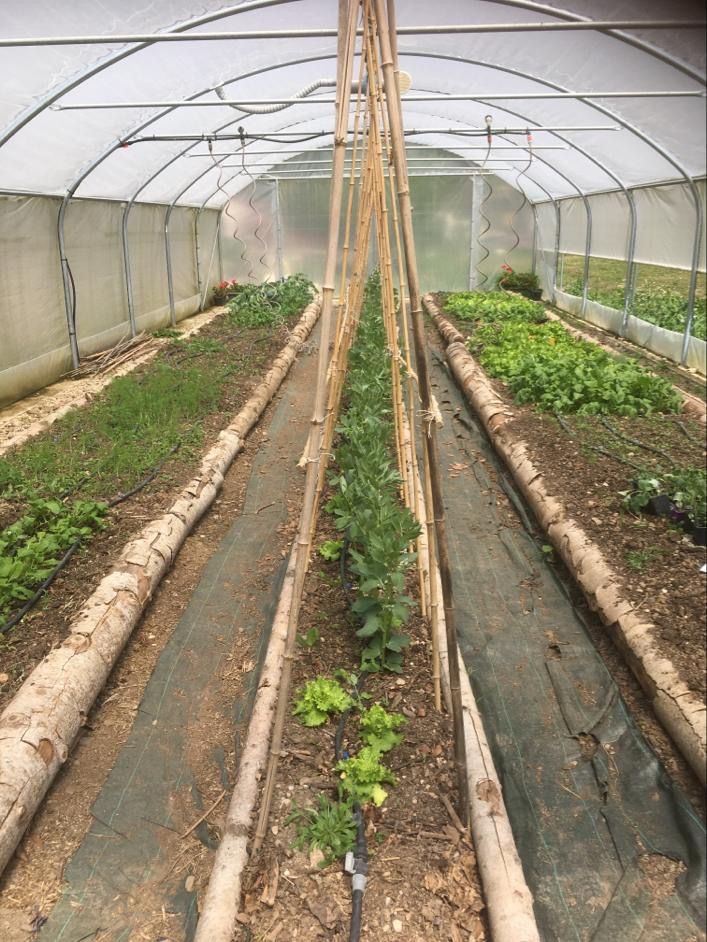
Bio Gardening
TNG Centre practices Bio-Gardening and has recently added ‘Hügelkultur’ or wood composting to the list of techniques used in the vegetable gardens with great success! We share this wonderful and simple technique to encourage everyone who reads this to grow and enjoy their own healthy food.
Material needed:
Big half-rotten tree trunks (up to 30cm in diameter), lots of twigs and small branches, leaves, pine needles, compost … all kinds of wood are great and can be used. Preferably use a space that is flat and has good soil.
The Process:
- Dig a trench that is 40cm deep and 110cm wide. It can be as long as you wish in relation to your plot of land. We dug some trenches as long as 12 meters.
- Remove any big rocks and leave the earth piled up next to your hole.
- Put the big trunks in the hole, packed as closely together as possible. Fill any holes between the trunks with rotten or decomposed wood and/or very dry wood chips (large), bark etc.
- On top of this, put a layer of smaller trunks and branches (around 5cm in diameter), preferably semi decomposed ones.
- The entire two layers should be between one to one and a half metres high, although you can make them taller if you wish.
- Both layers also need to be very wet.
- Preparing the next layer:
- Put lots of twigs and branches (old ones as well as young ones are fine) on a big pile (they can be up to 2cm thick); use a lawn mower to shred them. Don’t shred them too much; they should not be too small. The rougher the material, the longer it will last.
- The material has to be really wet. If this is not the case, soak it overnight.
- Finally, put the wet shredded twigs and branches on top of the trunks. In the middle your pile should be about 50cm high. It has to be quite firm so don’t be scared to stamp on it!
- Next, cover these layers with the earth which you piled up beside the hole, creating a layer about 20cm high. The earth should not be too firmly compacted as it needs to be able to breathe (so no stamping in this case!).
- Finally, on top of the layer of earth you need to put lots of leaves, pine needles, and sawdust … all kinds of plant-based mulching materials that will easily decompose and provide nutrients to your growing vegetables. This top layer is roughly 20cm high.
- Now start planting your vegetables:
- To plant, gently move aside the top layer of mulch and put your plants/potatoes/onions, leeks, cabbages in the layer of earth (avoid planting fragile veggies like carrots or tomatoes in the first year);
- Then carefully place the top layer of mulch around the base of the plants.
- If you want to sow seeds, gently move aside the top layer of mulch, dig a little trench with your finger, put in the seeds and carefully put some earth on top. As soon as the plants appear and are big enough, put the top layer of mulch back around and on top of the new plants.
- Over the next few years, the wooden logs will slowly decompose, providing essential nutrients for your vegetables. The wood also retains water so your plants will require much less watering than with normal gardening techniques making it even more beneficial for the environment.
- There will also be far less weeding to do. Should weeds appear, just cover them with some of the top layer of mulch which will suffocate them and then they will become part of the mulch too. You can also put the contents of your kitchen compost on the vegetable beds to replenish the top mulch layer and to ensure that all that good energy is used instead of going to waste!